20 Tips To Help You Be Better At Window Handle Repair


Window Handle Repair
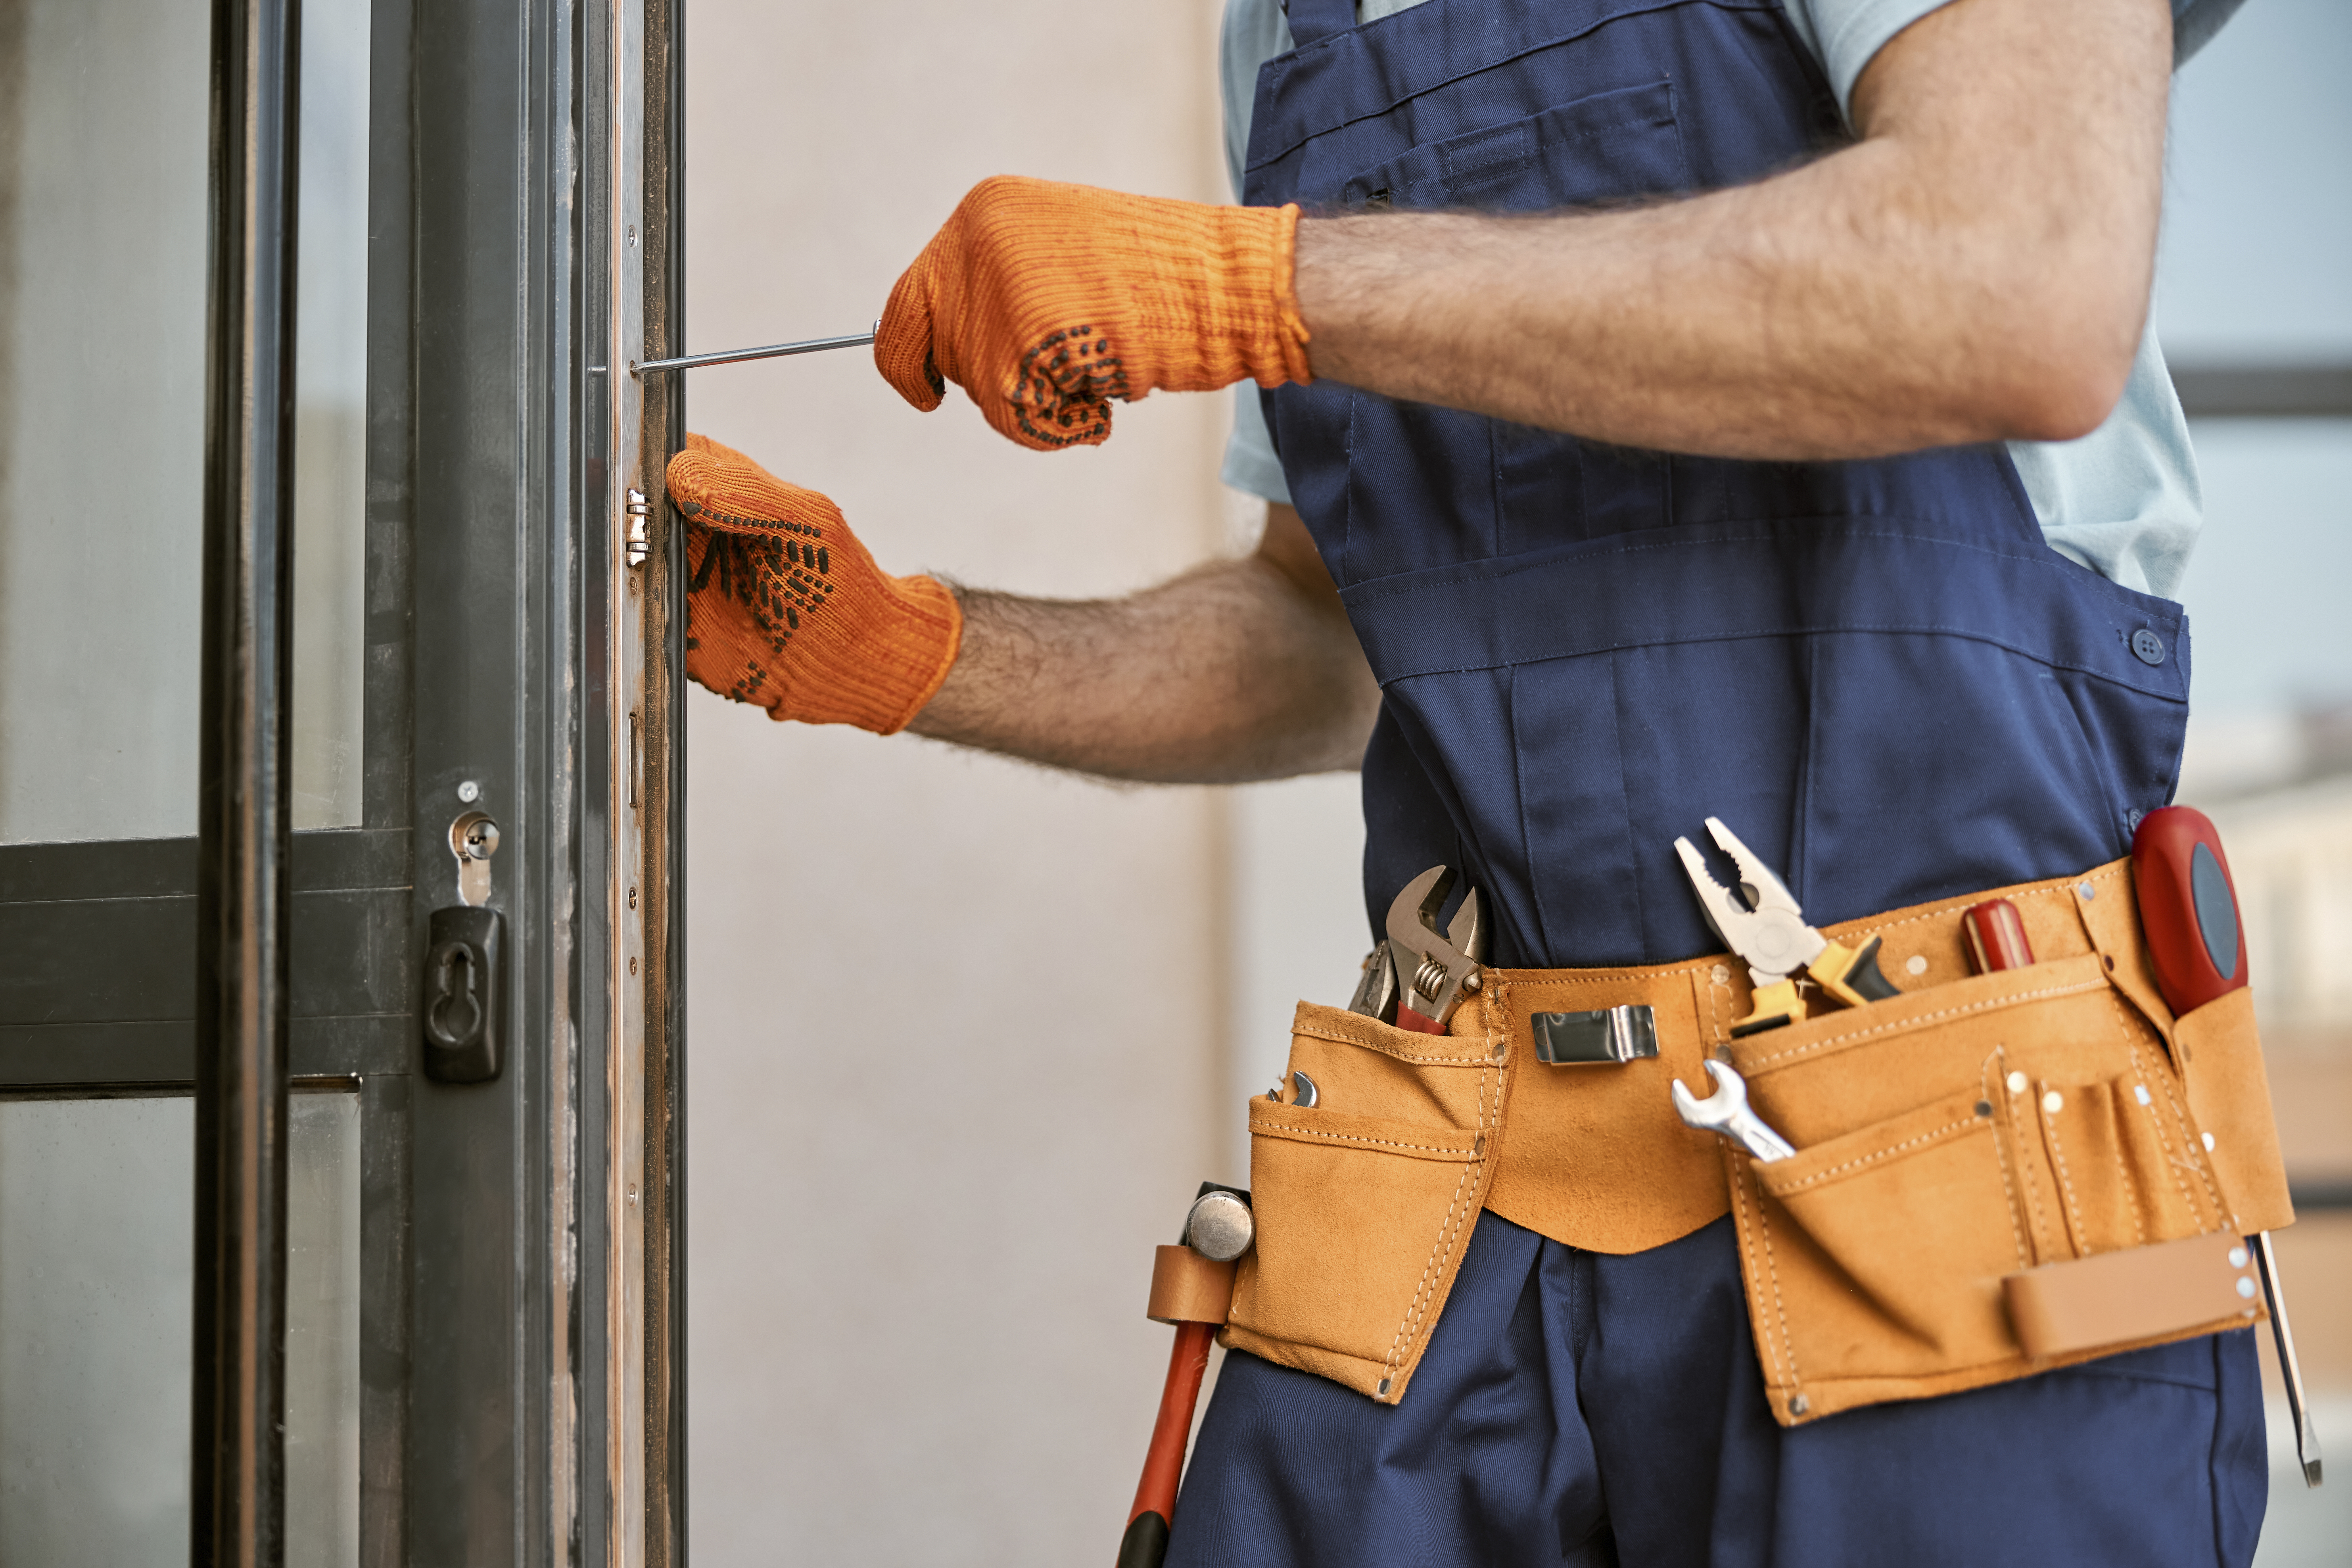
The window handles may be damaged or missing, which leaves the window vulnerable to burglars. It's usually not that difficult to repair.
Begin by taking off the caps made of plastic that cover the screws at the top and bottom of the handle. This is an easy task that shouldn't take more than five minutes using a screwdriver.
Loose Screws
Over time a window handle will loosen due to wear and tear or use. If you notice it becoming loose or you notice it's difficult to open, then it may just be that the screws have come loose and need a bit of tightening. This is an easy fix that can be done with a screwdriver within minutes.
First, remove the caps made of plastic that cover the screws on the top and bottom of your handle. You can remove them using either a flathead or a fingernail. After the caps have been removed, tighten the top screw until it is secured. You don't want to over tighten the screw since it could cause damage to the head. Then, tighten the bottom screw in a similar way. After both screws are tightened, the handle should feel more sturdy and should open more easily.
If your window handle is extremely loose or the lock paddle isn't able to be inserted then it's likely time to replace it with an upgrade to the crank mechanism. You can purchase one via mail order from several repair hardware specialists and it will probably be less expensive than replacing the entire handle. Alternatively, you can try to tighten the crank by opening the window until the crank arm guide bushing is aligned with notch on the guide track. Then, carefully push the handle into position and take off any trim mounting screws and lift the casement cover off the window jamb (Photo 1). You will need new trim screws if they are bent or rusted. Compare the new operator with the previous one to ensure they are the same, then install it as shown in Photo 5.
Filling holes in wood that are loose before tightening them may be required. Choose a filler that is slightly larger than the screw hole to ensure it will be able to penetrate the surrounding wood when you twist it in place.
Broken Spindle
After a long time, the spindle on your window handle might become worn out. This may cause the handle to fail or not open properly. Fortunately replacing the spindle is an easy and easy fix that can be accomplished by anyone who has basic tools. It is also essential to check the position of the handle to ensure that it is securely held in place.
It's also a good idea to use a silicone-based lubricant for the handle and spindle after cleaning. This will help it to spin more smoothly, and eliminate any debris or dirt that could hinder its work.
Another common issue with uPVC casement windows is when the locking mechanism fails. This occurs when the handle doesn't push the spindle across the wedge block correctly. This could be a major problem as it could prevent your window from opening or closing. It is necessary to replace the lock or handle.
It is very important to measure the length of the spindle before buying an alternative. This will help you to find a replacement that fits perfectly and provides an accurate replacement for the handle you have previously purchased. It is common to find the measurements on the bottom of the handle If not it is possible to contact us and we'll quickly identify the model over the phone to ensure that you are purchasing the correct one for your windows.
You can also buy a complete set of replacement handles with a spindle to save yourself some time and money. They are generally less expensive and can be installed in less time.
It could be time to speak with an expert If your uPVC tilt-and-turn windows are closed even after you've tried every one of these solutions. A uPVC expert will look over the handle and provide you with a quote.
Our range of replacement uPVC handle styles includes keys, inline, espags, cockspurs, and cranks. We have large stocks of both uPVC and aluminium handle models in a variety of finishes. We can even order in specific designs for you even if we don't have them in stock.
Broken Handle
A damaged handle could cause the uPVC handle to not open at any time. This usually happens because the handle cracks internally which results in it not having a purchase on the spindle, and therefore unable to operate the window. This problem occurs with uPVC handles. It can be easily fixed by removing the old handle and replacing it with a new one.
This usually requires the use of a screwdriver as well as some elbow grease, but is possible to do it at home with no professional assistance. To remove the handle make use of a screwdriver to lift the cap. The screws at the top and bottom should be visible on the handle's base. Using the screwdriver tighten the screw on the top until it is securely. Be careful not over-tightening it as this could damage the handle or the frame of the window.
After you've made sure that the handle is securely fixed to its base, you can then replace the second holding screw, which should be tightened until it is firm. Afterwards, replace the plastic caps on both screws. Your aluminium window handle should be working exactly as it was intended to.
Another reason why the uPVC window handle isn't open is because of a worn-out gear in the cranking mechanism. The handle could turn, but not move the window, which could cause a lot of frustration and is also dangerous for your security. In this instance it is essential to replace the operator mechanism.
The process is quite simple and shouldn't take more than two minutes. However, if you are not confident in this task or would prefer hiring professionals, the team at Bridgewater Glass are happy to assist. We have a wealth of experience in repair and replacement, and we can make sure that your windows are secure and working just as they should. Contact us today to inquire about our services and find out more about how we can help you.
Broken Base
A window handle may be loose over time. Sometimes, it causes the window to move or open when it is opened. If this is the case it is usually because one of the screws is not tightening the mechanism to the frame. This is a simple fix, just loosen the screw with a hand screwdriver and then tighten it. Close the window, then shift the handle back into position.
Sometimes, a handle can break completely off the base section. This can happen with both tilt-and-turn and standard handles. It is a rare issue and is only found in areas that are heavily utilized. Fortunately, it is an easy fix and can be solved with a replacement.
Another common problem is the handle teeth separating. This is most common in older windows that have a crank handle. The teeth, which are generally constructed of cast iron, may be ruined due to excessive use or age. It is a simple repair and can be fixed by using a small grip or a pair pliers.
If repair timber windows is separating from the base, you will need to take the crank off to replace it. It can be a bit challenging for novice DIYers to tackle however, it is doable.
Take off the screw that attaches the crank operator to the window frame. Then, you can open the window until the crank arm guide bushing is aligned with a track's notch. Then, using pliers, remove the guide bushing off the crank arm.
Once the old handle is removed, inspect the crank studs for worn teeth, and then the handle for signs of wear and tear. Family Handyman advises that if the splines are worn out and the handle is damaged, replace it. window crank handle.
Reattach the trim cover and any screws that have rusted to the frame prior installing the new window crank handle. Make sure the holes for mounting screws are in alignment with the mounting holes on the new handle and then join the base plate using the remaining screws. Make sure that you do not over tighten the screw because this could cause the swivel and nylon roller to break off from the track.